¶ View users
If you click on "Users" in the left menu bar, you will see an overview of all users. At the top right you can use the search field to search in all columns of the table.
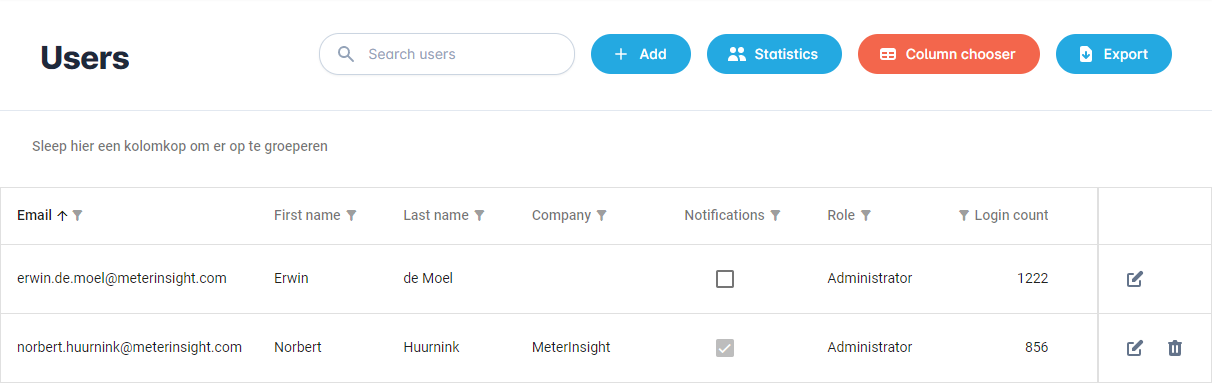
At the bottom of the page you can see the pagination, the total number of users and you can set the number of rows per page.

With the "Edit" button you can edit a user.

With the "Delete" button you can delete a user.

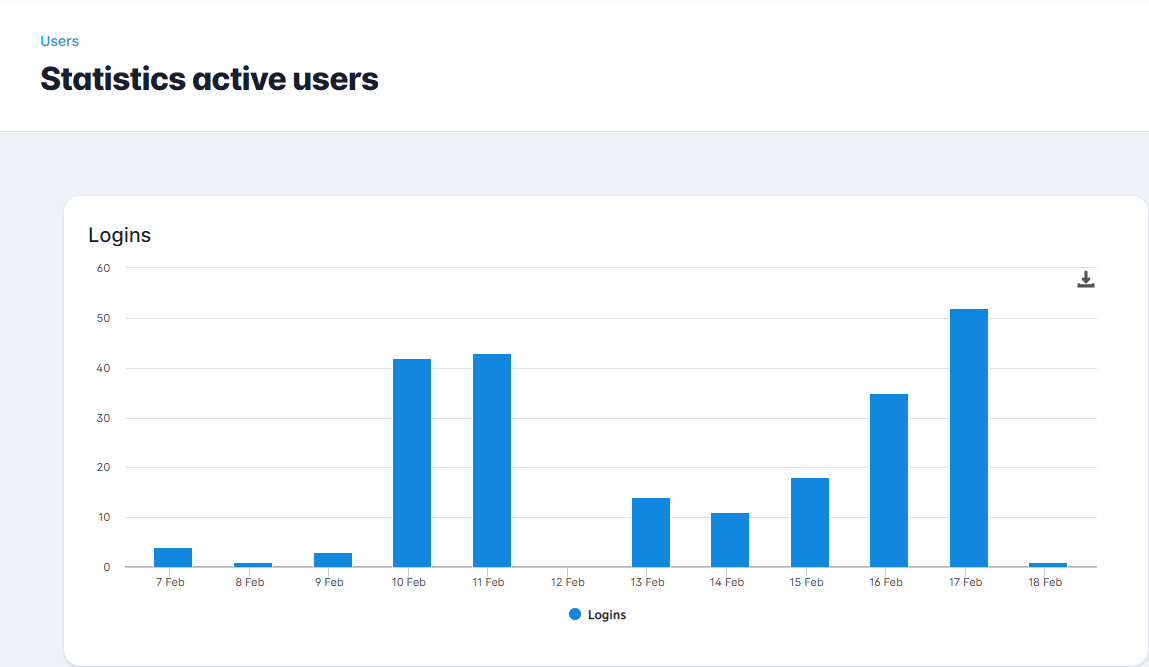
With the "Statistics" button you can view the user activity within your tenant.

This opens a bar chart with the number of user logins per day.
¶ Table options
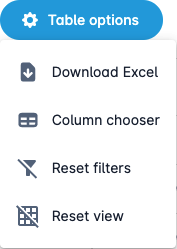
Export
The "Export" button allows you to export all the visible columns and rows in the table as an Excel file (.xlsx). This file will automatically be downloaded to your device.
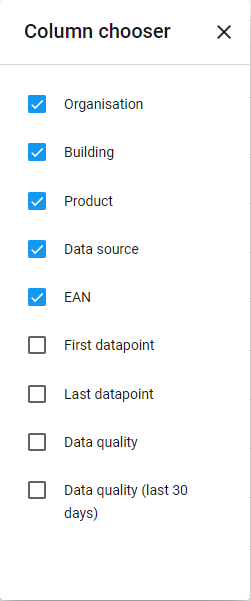
Column chooser
You can use the "Column chooser" to turn on or off certain columns, so that the table becomes more readable.
Reset filters
The "Reset filters" button disables all filters.
Reset view
The "Reset view" button resets the view to the default view.
¶ Add a new user
¶ General information
You can add a new user by clicking the "Add" button.

This opens the form shown below.
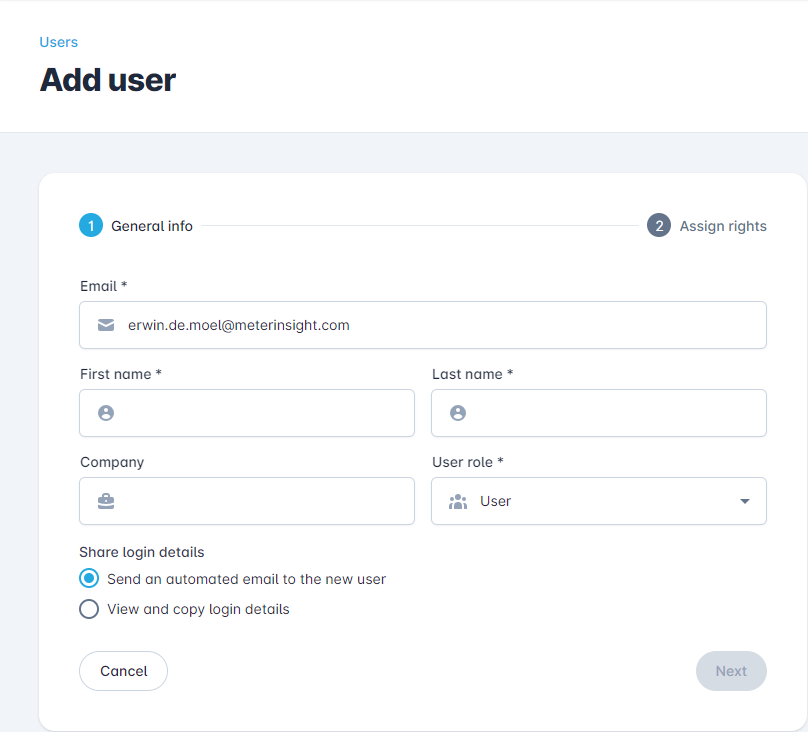
Fields marked with * are required, such as Email and User role.
User roles
There are 4 types of user role:
- Read-only user: can only read and not edit anything.
- User: can also add meter readings.
- Organization administrator: can manage all organizations to which he/she has access and, among other things, create, change and delete buildings and meters.
- Administrator: can manage and mutate everything within the tenant.
With the "Share login data" selection you can choose how you want to share the login name and newly created password with the new user. The option "View and copy login details" can be useful, for example, if you want to write an accompanying text in the Email yourself.
Clicking the "Next" button will take you to the "Assign permissions" screen.
¶ Assign permissions
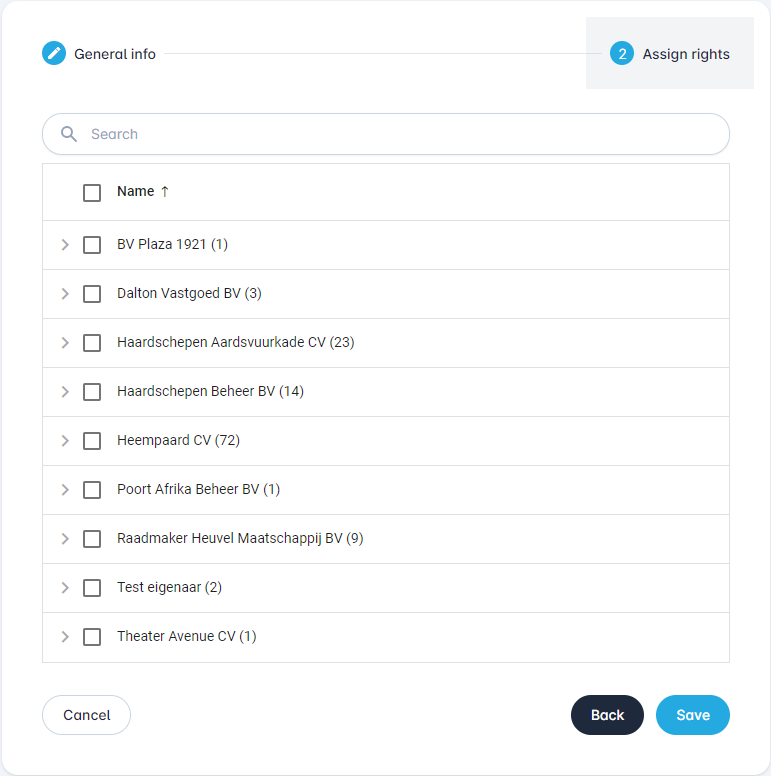
Here you can specify which objects the user has access to. You can select everything, but also make a selection of, for example, certain "Organisations" or "Buildings". The hierarchy you see here depends on your organisation's settings.
When you click on the "Save" button, the user is created.